How to Choose the Best Fish Finder for Your Fishing Needs:

A fish finder is almost like an extra crew member—a fishing buddy that can see below your boat and alert its fellow anglers of any prospective fish. It’s a powerful ally and an essential accessory for many types of fishing. So how do you make sure you get the right one? Could you stick with us and find out?
In this article, we’ll outline a few things to consider when buying a fish finder. These range from situational aspects such as where and how you fish to more technical ones such as frequency, wattage, and screen resolution. Towards the end, we’ll also cover some basic ways to use a fish finder once you’ve made your choice.
Key Things to look for in a Fish finder:
A fish finder is almost like an extra crew member—a fishing buddy that can see below your boat and alert its fellow anglers of any prospective fish. It’s a powerful ally and an essential accessory for many types of fishing. So how do you make sure you get the right one? Could you stick with us and find out?
In this article, we’ll outline a few things to consider when buying a fish finder. These range from situational aspects such as where and how you fish to more technical ones such as frequency, wattage, and screen resolution. Towards the end, we’ll also cover some basic ways to use a fish finder once you’ve made your choice.
Power:
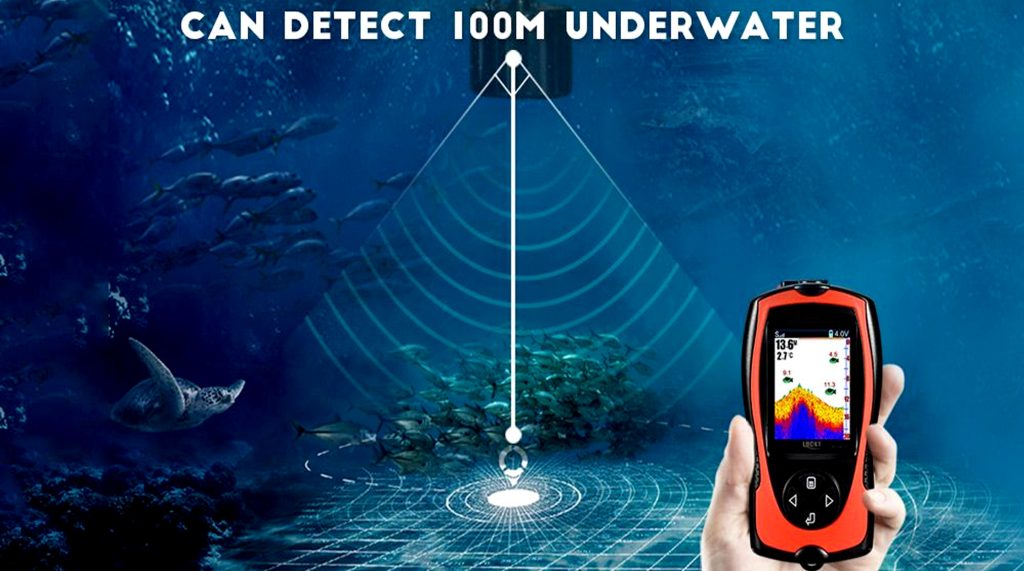
A fish finder’s power is designated by its wattage. It determines the strength of the sound waves your device will send out. Fish finder wattage can range from 100 watts for small devices to over 1000 watts for complex deep-sea systems. Your device’s power will affect how deep the “pings” can reach and how much detail you get from the returning sound waves.
In practical terms, this means that you’ll be able to see the bottom and the fish with as little as 200 or 300 watts in shallow waters or inland lakes. For nearshore fishing, 600-watt fish finders will give you more than enough power as long as you don’t venture too deep. However, if you plan on fishing offshore, you may want to aim for 1000 watts or more to get the best results.
If you want to do the math yourself, here are the general guidelines:
- For every 100 watts, you’ll get 400 feet of additional depth at a 50 Hz frequency.
- On a 200 Hz frequency, you’ll get 100 feet of additional depth for every 100 watts of power.
Transducer and Frequency:
Much like wattage, the frequency you set your fish finder to will affect both how deep you’ll see and how detailed the image will be. The part of the fishfinder system that sends out and receives the sound waves is called the transducer. Depending on your needs, you can choose between transducers that send out single, dual, or multiple frequencies at a time.
On a single-frequency transducer, you’ll have to adjust the frequency based on whether you want to go for depth or detail. Low frequencies, such as 50 hertz, are best at penetrating deep into the seas and detecting bigger fish. Higher frequencies (200 hertz and more) are used for shallow waters. They’re also used to scan the waters in more detail and separate the fish from the bottom structure.
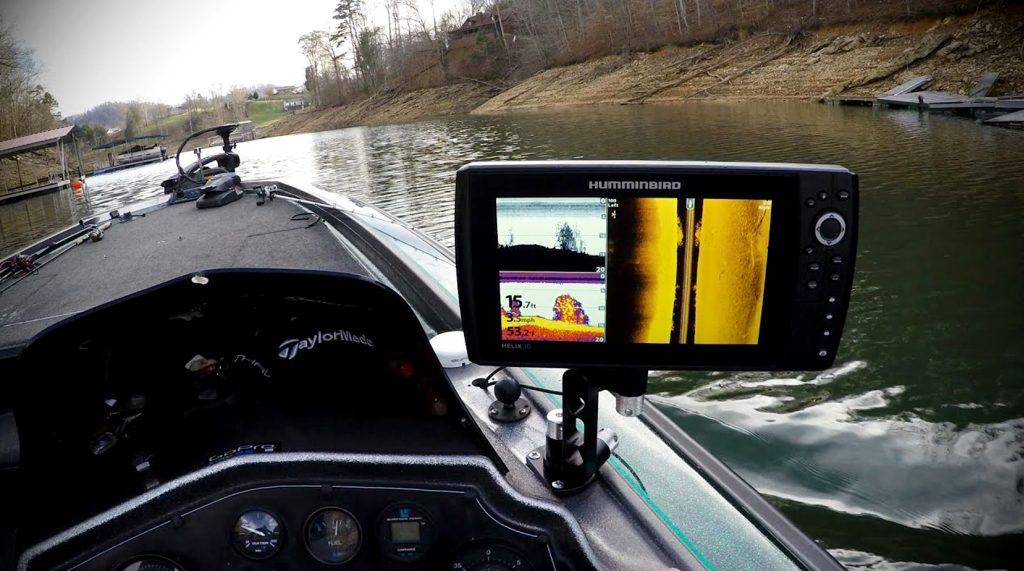
If you’re fishing in inland waters, you likely won’t need more than a single frequency at a time. However, most mid-range fish finders come with a dual-frequency transducer to allow you to send out both low- and high-frequency waves simultaneously. These are typically shown separately on the screen, so you can read them side by side.
Many fishfinders nowadays also include CHIRP technology. With CHIRP, your device will send out sweeping waves of different frequencies and combine all the results into a single image. That way, you’ll basically get the best of both worlds. The CHIRP pulse will both penetrate all the way to the bottom and return a highly detailed image with precise target separation.

Screen Size and Resolution:
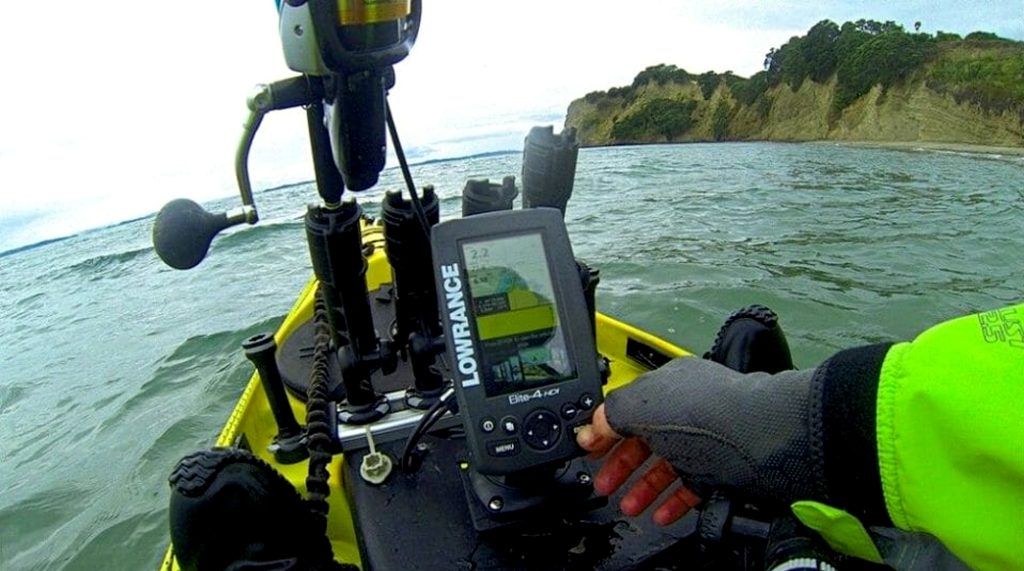
Let’s face it, if you’re always squinting at your fish finder screen and struggling to make out what’s what on the grainy screen, you’re not going to get much value out of it. But still, is there really a point in going for a big screen for shallow waters and small vessels? This is why you should pay close attention to the size of your fish finder screen and its quality.
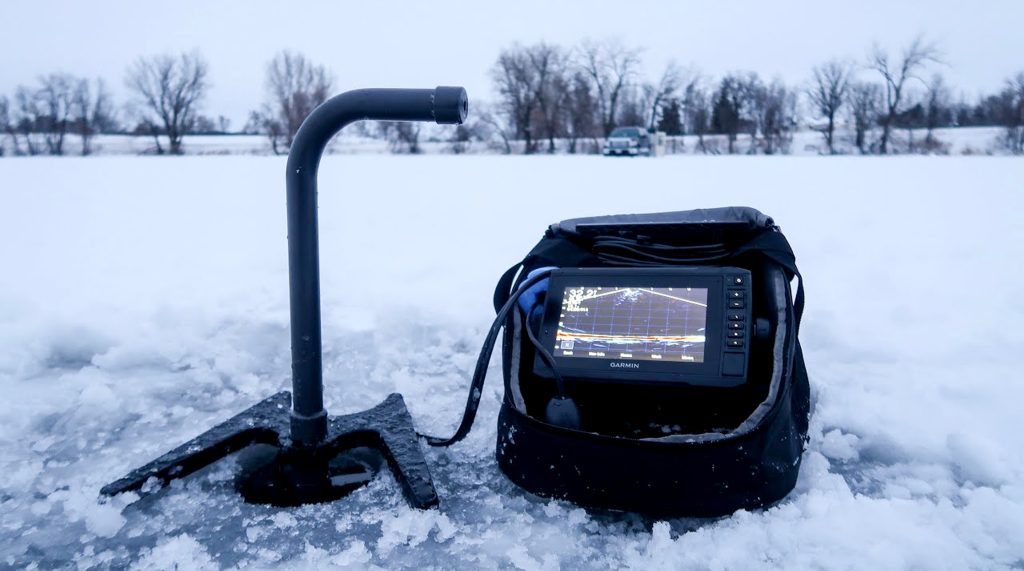
Fish finder display sizes range from 3.5 inches for portable devices to as much as 12 inches, which is almost as big as a Macbook. If you’re looking to buy a portable unit, you should go for the biggest screen that fits within your budget. Alternatively, if you’re going to be mounting the fish finder on your boat, anything smaller than a 7-inch screen will likely prove to be too small.
You should also ask yourself if you plan on using a split screen or other features, such as a chart plotter. If you want to view more than one thing on your display at a time, you should go for a screen that’s big enough for you to make out the details clearly. In terms of resolution, just aim for the highest resolution you can reasonably afford, as the higher it is, the clearer the image will be.
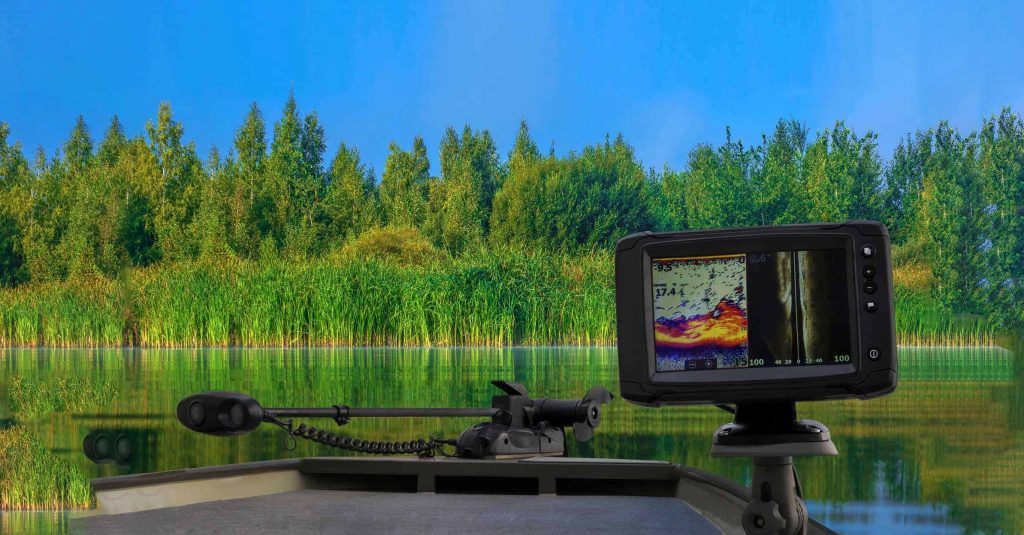
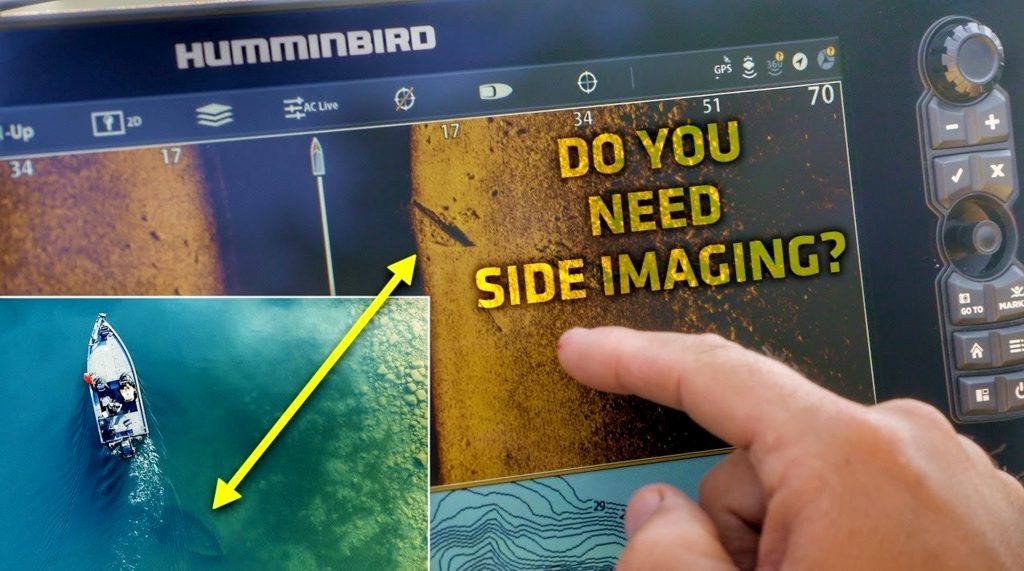
Side Imaging and Other Features
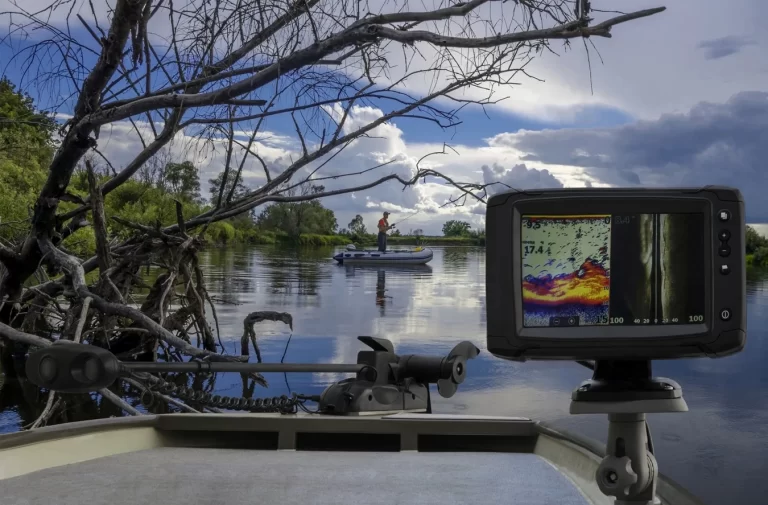
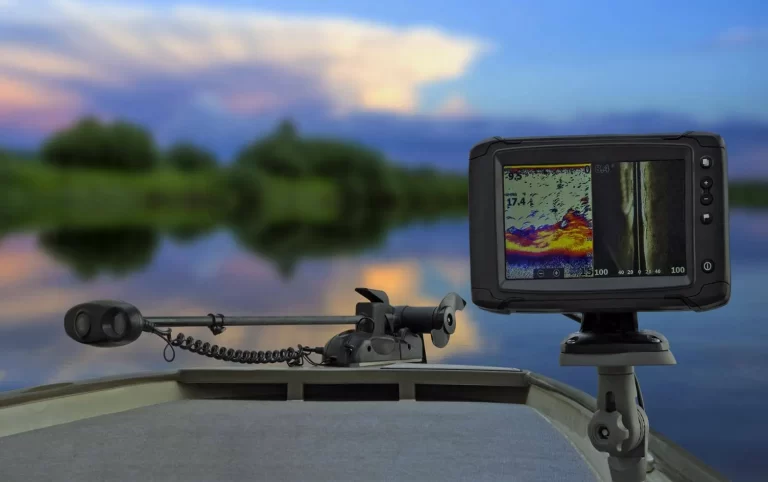
The basic purpose of a fish finder is to see what’s under your boat. But what if you want to see what’s going on around you? For those situations, look into fishfinders with side imaging options. With side imaging, you’ll get to see everything that moves along the sides of your boat. This is especially useful in shallow waters, where fish may not necessarily lurk underneath you.
Many modern fishfinders also come with a chart plotter. Its main function is to help you navigate and avoid reefs and underwater hazards that could damage your boat. However, you can also use it to save your routes and record your fishing spots. Unless you’re fishing in lakes or waters you already know by heart, a chart plotter is an extremely useful tool to assist you in getting around.
One last thing to pay attention to is whether your fish finder has buttons or not. Many modern ones come with touchscreen capabilities. This makes them very easy to use, with the experience being similar to how you’d use your smartphone. However, we recommend getting a device that also has buttons on it. Why? Because it’s just easier to use buttons while you’re driving the boat or when the waters are a little unsteady.
Mounting Your Fishfinder:
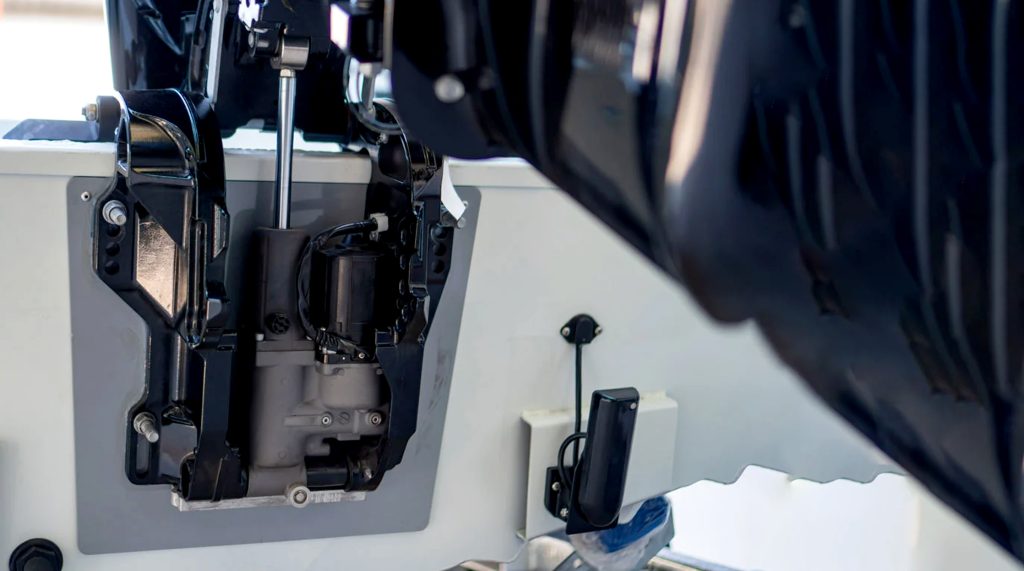
By now, you may have an idea of what kind of fish finder you want to get. But unless it’s a portable one, you’ll have to think about how you’re going to mount the transducer part of it on your boat. Here are a few ways you can do this:
- Transom mount: The most common way to set up your fish finder is to mount the transducer on the transom of your boat, so it hangs under and behind the hull. This is a popular option for boats under 30 feet, as the installation itself is relatively straightforward and offers great results. The drawback is that the bubbles coming from the propeller may interfere with the signal at times.
- Thru-hull mount: If you have a bigger boat or a vessel with a displacement hull, you may want to opt for a thru-hull mount. This type of mount offers the best fishfinder performance. However, it requires drilling a hole through the hull of your boat. If you’re considering this, make sure not to use plastic housing if your boat is wooden, or bronze housing with aluminum hulls.
- In-hull mount: You can also bolt the transducer to the inside of the hull of your boat. This is best suited for boats with a thin hull. The thicker the hull is, the harder it will be for the signal to pass through it. If you go for this type of setup, make sure to get a transducer that’s specifically designed for in-hull mounting. They’re made to be more sensitive, allowing the signal to bypass the boat’s hull.
- Trolling motor: Finally, if you have a trolling motor, you can mount some transducers directly on it. They’re usually fixed to the hub of the trolling motor’s propeller. This way, you can change the direction of the signal by controlling the trolling motor. You’ll just have to get a mount that’s compatible with your trolling motor. After that, the installation itself should be fairly simple.
Using Your Fish Finder:
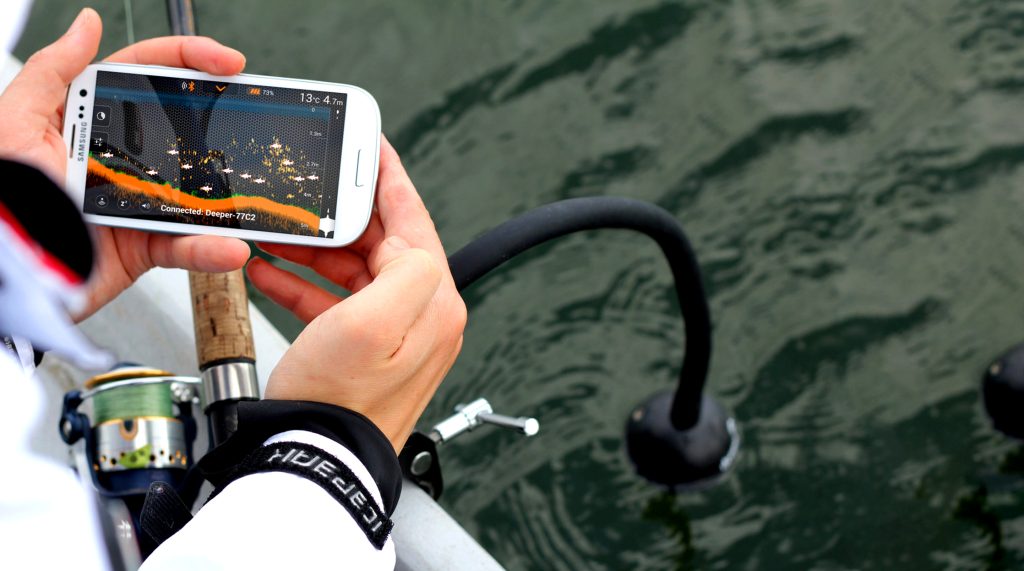
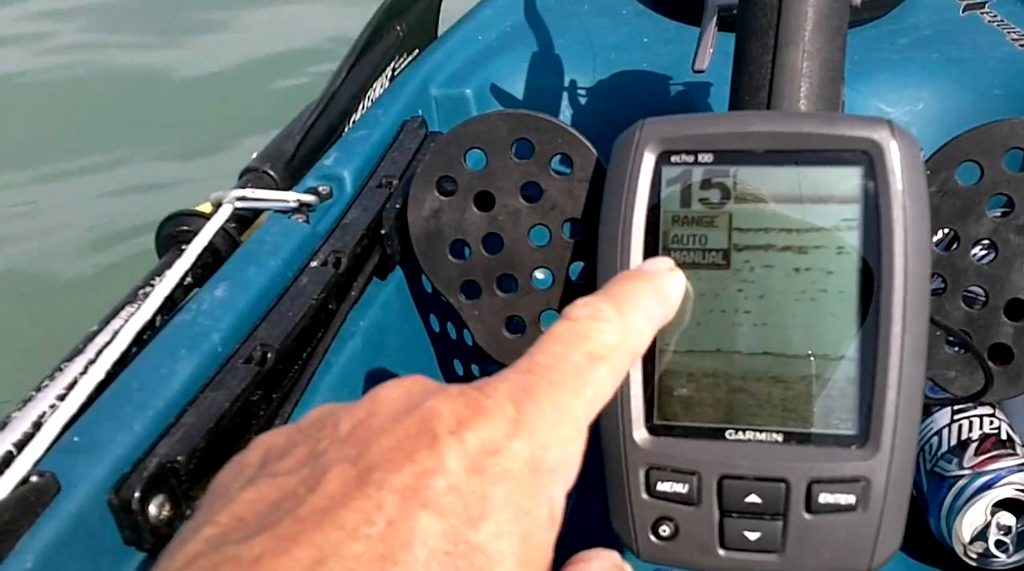
When you’ve finally set everything up, it’ll be time to learn how to use your fish finder. Naturally, it’s going to take a while before you master it. Thankfully, it’s pretty easy to navigate through the different settings a fish finder offers. We’ve mentioned it already, but they’re very similar to smartphones, so it’s really just a question of discovering what’s what. To get you started, here are a few things you should learn when you first power up your fish finder:
- Check where the basic information, such as water depth, boat speed, and signal frequency, is shown on the screen.
- Find out how to change the frequency your fish finder is sending out—and learn how to turn on CHIRP.
- Check how to adjust the width of the sound waves your transducer is sending out. With a wider cone, you’ll cover a larger underwater area, while a narrower one will help you zero in on any particular bottom structure you want to see.
- Learn how to turn the sensitivity up and down to avoid seeing to much clutter on the screen.
- Find out how to split the screen and turn on other features such as side imaging or chart plotting.
You can usually read about these in your fish finder’s manual, or you can take it slow and click through each option on the display screen. Once you’ve grasped the basic functions, you’ll need to spend some time on the water, experiment, and learn how to read the information that shows up. Soon enough, you’ll start seeing those beautiful red arches appear on the display, indicating that there’s some prized catch right under you.
Fish Finder: A Faithful Fishing Buddy:
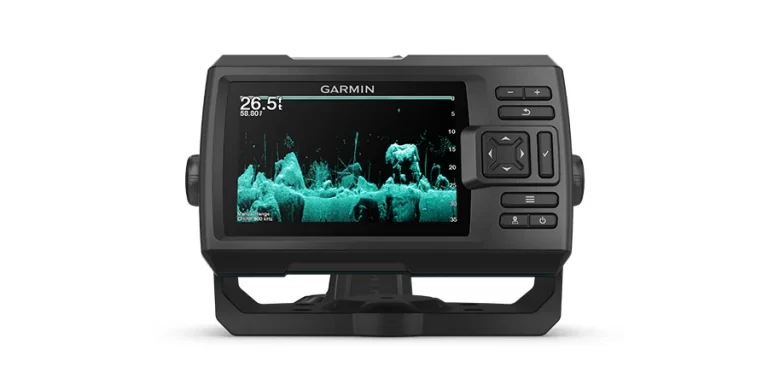
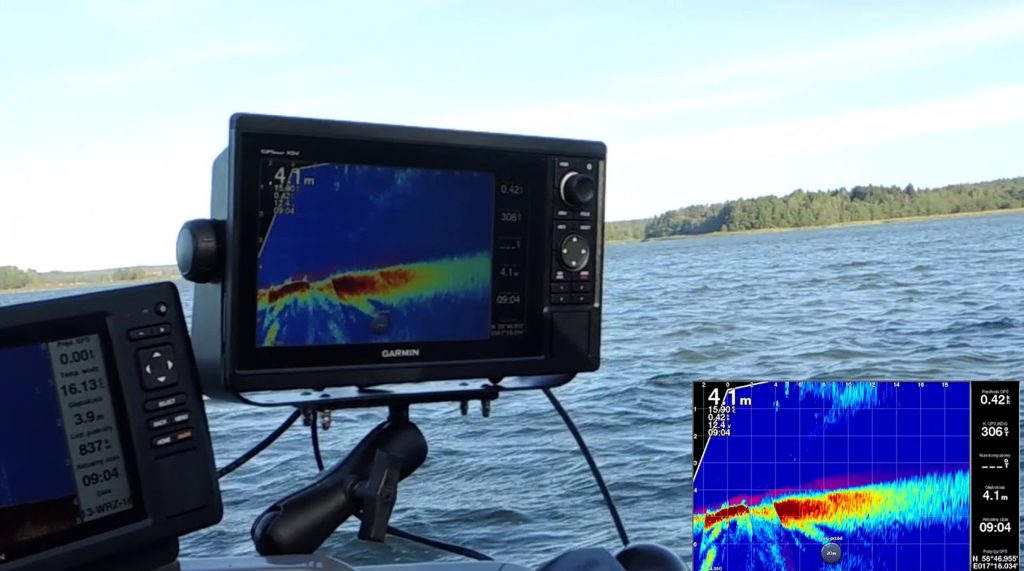
You may have noticed we haven’t mentioned any particular brands in the article. While we could ramble on about the Hummingbird Salix series or the Lowrance HDS, the truth is that they’re both reliable brands. And so are others such as Garmin, Semrad, Furuno, and Raymarine. Nowadays, most fish finders are easy to use, meaning you don’t necessarily have to stick to the same brand when it’s time to upgrade.
It’s really all about selecting the right device for your particular purposes. So set out a budget and think about the waters you fish in and where you plan on fishing for the foreseeable future. Soon enough, you’ll have a clear picture of just the kind of fish finder you need.
For more related post you can visit here https://geeksfishing.com/garmin-striker-cast-castable-sonar-fish-finder-review/